In the previous entry, we learned that the Migrate API is an implementation of an ETL framework. We also talked about the steps involved in writing and running migrations. Now, let’s write our first Drupal migration. We are going to start with a very basic example: creating nodes out of hardcoded data. For this, we assume a Drupal installation using the standard installation profile, which comes with the Basic Page content type. As we progress through the series, the migrations will become more complete and more complex. Ideally, only one concept will be introduced at a time. When that is not possible, we will explain how different parts work together. The focus of today's lesson is learning the structure of a migration definition file and how to run it.
Writing the migration definition file
The migration definition file needs to live in a module. So, let’s create a custom one named ud_migrations_first and set Drupal core’s migrate module as dependencies in the *.info.yml file, ud_migrations_first.info.yml. The contents of the file will be:
type: module
name: UD First Migration
description: 'Example of basic Drupal migration. Learn more at https://understanddrupal.com/migrations.'
package: Understand Drupal
core: 8.x
dependencies:
  - drupal:migrate
Now, let’s create a folder called migrations and inside it, a YAML (Yet Another Markup Language) configuration file called udm_first.yml. Note that the extension is, yml not yaml. The contents of the file will be:
id: udm_first
label: 'UD First migration'
source:
  plugin: embedded_data
  data_rows:
    -
      unique_id: 1
      creative_title: 'The versatility of Drupal fields'
      engaging_content: 'Fields are Drupal''s atomic data storage mechanism...'
    -
      unique_id: 2
      creative_title: 'What is a view in Drupal? How do they work?'
      engaging_content: 'In Drupal, a view is a listing of information. It can a list of nodes, users, comments, taxonomy terms, files, etc...'
  ids:
    unique_id:
      type: integer
process:
  title: creative_title
  body: engaging_content
destination:
  plugin: 'entity:node'
  default_bundle: page
The final folder structure will look like:
.
|-- core
|-- index.php
|-- modules
|   `-- custom
|       `-- ud_migrations
|           `-- ud_migrations_first
|               |-- migrations
|               |   `-- udm_first.yml
|               `-- ud_migrations_first.info.yml
YAML is a key-value format with optional nesting of elements. They are very sensitive to white spaces and indentation. For example, they require at least one space character after the colon symbol (:) that separates the key from the value. Also, note that each level in the hierarchy is indented by two spaces exactly. A common source of errors when writing migrations is improper spacing or indentation of the YAML files.
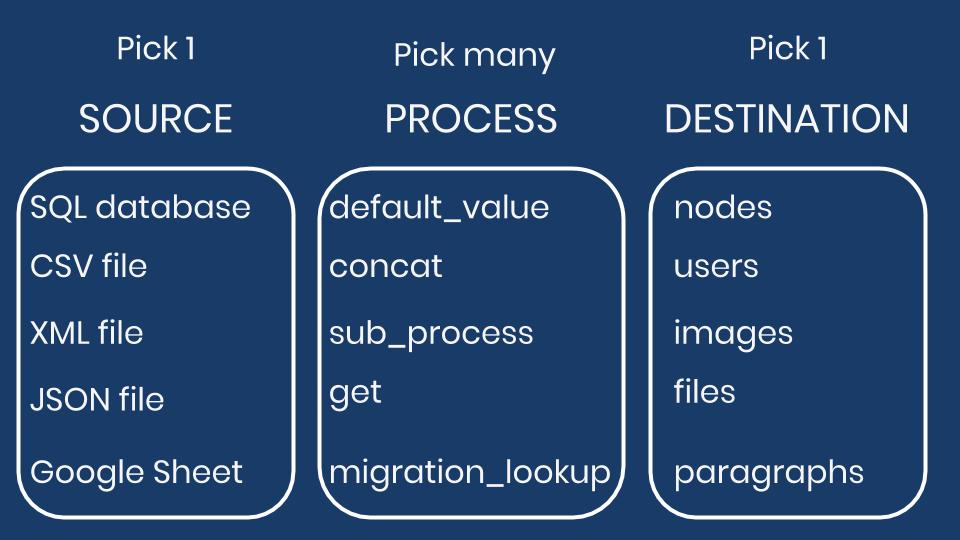
A quick glimpse at the migration configuration file reveals the three major parts: source, process, and destination. Other keys provide extra information about the migration. There are more keys that the ones shown above. For example, it is possible to define dependencies among migrations. Another option is to tag migrations so they can be executed together. We are going to learn more about these options in future entries.
Let’s review each key-value pair in the file. For, id it is customary to set its value to match the filename containing the migration definition, but without the .yml extension. This key serves as an internal identifier that Drupal and the Migrate API use to execute and keep track of the migration. The id value should be alphanumeric characters, optionally using underscores to separate words. As for the label key, it is a human readable string used to name the migration in various interfaces.
In this example, we are using the embedded_data source plugin. It allows you to define the data to migrate right inside the definition file. To configure it, you define a data_rows key whose value is an array of all the elements you want to migrate. Each element might contain an arbitrary number of key-value pairs representing “columns” of data to be imported.
A common use case for the embedded_data plugin is testing of the Migrate API itself. Another valid one is to create default content when the data is known in advance. I often present introduction to Drupal workshops. To save time, I use this plugin to create nodes which are later used in the views creation explanation. Check this repository for an example of this. Note that it uses a different directory structure to define the migrations. That will be explained in future blog posts.
For the destination, we are using the entity:node plugin which allows you to create nodes of any content type. The default_bundle key indicates that all nodes to be created will be of type “Basic page”, by default. It is important to note that the value of the default_bundle key is the machine name of the content type. You can find it at /admin/structure/types/manage/page In general, the Migrate API uses machine names for the values. As we explore the system, we will point out when they are used and where to find the right ones.
In the process section you map columns from the source to node properties and fields. The keys are entity property names or the field machine names. In this case, we are setting values for the title of the node and its body field. You can find the field machine names in the content type configuration page: /admin/structure/types/manage/page/fields. Values can be copied directly from the source or transformed via process plugins. This example makes a verbatim copy of the values from the source to the destination. The column names in the source are not required to match the destination property or field name. In this example, they are purposely different to make them easier to identify.
You can download the example code from https://github.com/dinarcon/ud_migrations The example above is actually in a submodule in that repository. The same repository will be used for many examples throughout the series. Download the whole repository into the ./modules/custom directory of the Drupal installation and enable the “UD First Migration” module.
Running the migration
Let’s use Drush to run the migrations with the commands provided by Migrate Run. Open a terminal, switch directories to Drupal’s webroot, and execute the following commands.
$ drush pm:enable -y migrate migrate_run ud_migrations_first
$ drush migrate:status
$ drush migrate:import udm_first
The first command enables the core migrate module, the runner, and the custom module holding the migration definition file. The second command shows a list of all migrations available in the system. Only one should be listed with the migration ID udm_first. The third command executes the migration. If all goes well, you can visit the content overview page at /admin/content and see two basic pages created. Congratulations, you have successfully run your first Drupal migration!!!
Or maybe not? Drupal migrations can fail in many ways, and sometimes the error messages are not very descriptive. In upcoming blog posts, we will talk about recommended workflows and strategies for debugging migrations. For now, let’s mention a couple of things that could go wrong with this example. If after running the drush migrate:status command, you do not see the udm_first migration, make sure that the ud_migrations_first module is enabled. If it is enabled, and you do not see it, rebuild the cache by running drush cache:rebuild.
If you see the migration, but you get a yaml parse error when running the migrate:import command, check your indentation. Copying and pasting from GitHub to your IDE/editor might change the spacing. An extraneous space can break the whole migration so pay close attention. If the command reports that it created the nodes, but you get a fatal error when trying to view one, it is because the content type was not set properly. Remember that the machine name of the “Basic page” content type is page, not basic_page. This error cannot be fixed from the administration interface. What you have to do is rollback the migration issuing the following command: drush migrate:rollback udm_first, then fix the default_bundle value, rebuild the cache, and import again.
Note: Migrate Tools could be used for running the migration. This module depends on Migrate Plus. For now, let’s keep module dependencies to a minimum to focus on core Migrate functionality. Also, skipping them demonstrates that these modules, although quite useful, are not hard requirements for running migration projects. If you decide to use Migrate Tools make sure to uninstall Migrate Run. Both provide the same Drush commands and conflict with each other if the two are enabled.
What did you learn in today’s blog post? Did you know that Migrate Plus and Migrate Tools are not hard requirements for Drupal migrations projects? Did you know you can place your YAML files in a migrations directory? What advice would you give to someone writing their first migration? Please share your answers in the comments. Also, I would be grateful if you shared this blog post with your friends and colleagues.
Next: Using process plugins for data transformation in Drupal migrations
This blog post series, cross-posted at UnderstandDrupal.com as well as here on Agaric.coop, is made possible thanks to these generous sponsors: Drupalize.me by Osio Labs has online tutorials about migrations, among other topics, and Agaric provides migration trainings, among other services. Contact Understand Drupal if your organization would like to support this documentation project, whether it is the migration series or other topics.


Comments
2020 July 16
ijf8090
Really appreciate this…
Really appreciate this tutorial. Here is some (hopefully constructive) feedback.
1) I think there is a cut and paste error above, the first section on creating the ud_migrations_first.info.yml file talks about creating "Now, let’s create a folder called
migrationsand inside it, a file calledudm_first.yml." instead of a .info.yml file?2) Got an error trying to load migrate_run (also tried migrate-run)
"Could not find a matching version of package drupal/migrate_run. Check the package spelling, your version constraint and that the package is available in a stability which matches your minimum-stability (dev)."
Successfully used Migrate Tools (migrate_tools) instead.
3) Migration ran w/o error, could not find the content even tho' I can see it in the database.
mysql> select bundle, entity_id, body_value from node__body WHERE entity_id > 6;
+--------+-----------+-----------------------------------------------------------------------------------------------------------------------+
| bundle | entity_id | body_value |
+--------+-----------+-----------------------------------------------------------------------------------------------------------------------+
| page | 7 | Fields are Drupal's atomic data storage mechanism... |
| page | 8 | In Drupal, a view is a listing of information. It can a list of nodes, users, comments, taxonomy terms, files, etc... |
+--------+-----------+-----------------------------------------------------------------------------------------------------------------------+
2 rows in set (0.00 sec)
2020 July 16
mlncn
Thanks for following…
Thanks for following Mauricio's tutorial/journey, 31 days of Drupal migrations!
1.) The first file is indeed a module-defining *.info.yml, but the second file, in the migrations folder, is just a configuration *.yml file. I've cleaned up a duplicate/misplaced sentence to try to make that part clear, or at least no longer misleading. Thanks!
2.) The Migrate Run module is a replacement for (and is indeed derived from) Migrate Tools. Migrate Tools needs to be uninstalled and Migrate Run installed (first download with composer with composer require drupal/migrate_run).
3.) Maybe with those two issues cleared up, the last will run as expected!
2020 July 17
ijf8090
I had some trouble…
I had some trouble installing migrate_run with Composer. I finally got migrate_run-8.x-1.0-beta5.zip installed by downloading from drupal.org and installing through /admin/modules.
Everything now works as expected.
Moving on to the next step.
Thank you.
Ian
Add new comment